
Imagine the vibrant, zesty flavors of a classic Italian sub—spicy cured meats, sharp provolone, tangy pickled vegetables, and herb-infused oil—all packed into a warm, soft, buttery slider and baked until the cheese is deliriously melty. This is the magic of Hot Italian Sub Sliders, the ultimate fusion of deli-counter authenticity and shareable party food perfection.
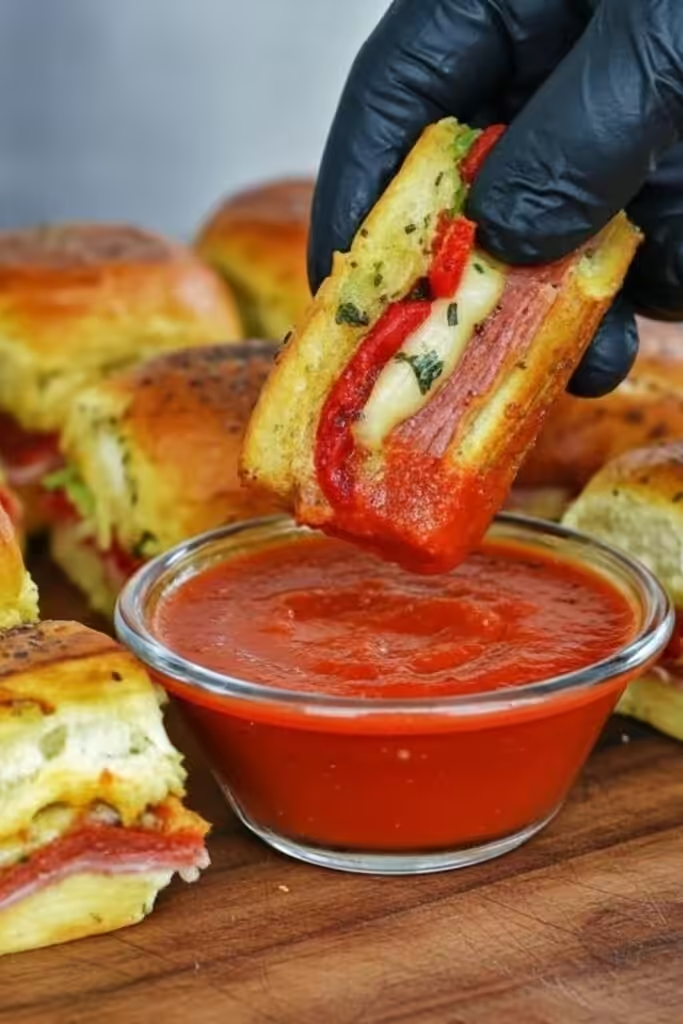
As a culinary professional who has crafted countless appetizers for gatherings, I can confidently say this recipe is a guaranteed crowd-pleaser. It solves the universal hosting dilemma: how to serve something impressive, flavorful, and satisfying without being chained to the stove. These sliders capture the essential soul of a great Italian sandwich—the garlic, the oregano, the pepperoncini heat, the savory meatiness—and transform it into a unified, oven-baked delight. The texture is a perfect harmony: a golden, slightly crisp top bun gives way to a soft interior soaked with Italian dressing juices, embracing a hearty, warm filling of meats and cheese.
Whether you’re searching for a winning game day spread, an easy yet impressive potluck contribution, or a fun and fuss-free family dinner, you’ve found your answer. This recipe is brilliantly simple to assemble, using accessible ingredients to create a taste experience that far surpasses the sum of its parts. Let’s dive into how to make the most delicious Hot Italian Sub Sliders that will have everyone asking for the recipe.
Why This Recipe Works: The Science of Layered Flavor
The transition from a cold, stacked sub to a hot, baked slider is more than just a format change—it’s a flavor transformation. Understanding this process is key to appreciating why this recipe is so exceptionally good.
The core principle here is flavor migration and integration. In a traditional sub, ingredients remain distinct. When baked together in a contained environment, magic happens. The fats from the meats and cheese gently render. The herbs and garlic from the dressing and butter glaze permeate the soft bread. The steam created in the covered pan circulates, softening the meats and allowing every component to cozy up to its neighbors. This creates a cohesive, deeply integrated flavor in every bite, unlike the separate layers of a cold sandwich.
Next, we consider textural alchemy. The double application of a seasoned butter glaze is the non-negotiable technique that elevates these sliders. Brushing it on before baking ensures the top bun browns beautifully and absorbs the garlic and herb flavors. The final brush after baking adds a glossy, irresistible finish and a burst of fresh aroma. This method prevents dry buns and creates a perfect textural contrast with the rich, tender filling.
Finally, the “secret” is the giardiniera or pepperoncini. These pickled vegetables do more than just add a tangy crunch. Their vinegar-based brine, which we lightly incorporate, acts as a flavor catalyst. The acidity cuts through the richness of the meats and cheese, brightening the entire dish and providing the signature “Italian sub” tang that makes your taste buds sing.
Crafting Your Slider: The Essential Ingredients
Building an authentic flavor profile relies on quality components. Here’s your roadmap to gathering the perfect ingredients, with explanations for each choice.
For the Italian Dressing Marinade & Glaze:
- 1/2 cup extra virgin olive oil
- 1/4 cup red wine vinegar
- 2 cloves garlic, minced
- 1 teaspoon dried oregano
- 1 teaspoon dried basil
- 1/2 teaspoon red pepper flakes (adjust to taste)
- 1/2 teaspoon onion powder
- 1 teaspoon kosher salt
- 1/2 teaspoon black pepper
For the Slider Filling:
- 1 (12-count) package of soft slider buns or Hawaiian rolls (do not separate)
- 1/2 pound thinly sliced Genoa salami
- 1/2 pound thinly sliced hard salami or cotto salami
- 1/4 pound thinly sliced ham (optional, for added variety)
- 1/2 pound thinly sliced provolone cheese (12 slices)
- 1 cup giardiniera (mild or hot), drained and roughly chopped, OR 1/2 cup sliced pepperoncini, drained
- 1 small red onion, thinly sliced
- 2 tablespoons chopped fresh parsley
For the Garlic-Herb Butter Topping:
- 1/2 cup (1 stick) unsalted butter
- 2 cloves garlic, minced
- 1 tablespoon grated Parmesan cheese
- 1/2 teaspoon dried Italian seasoning
Savvy Ingredient Substitutions & Variations
The beauty of this recipe is its flexibility, built around the core Italian flavor profile.
- Meat Variations: No Genoa? Use all hard salami. For a spicier kick, add soppressata or capicola. For a chicken Parmesan slider variation, use shredded cooked chicken and marinara sauce.
- Cheese Options: Fontina or mozzarella are excellent melty substitutes for provolone. A sharp white cheddar can work in a pinch but will change the flavor profile.
- Vegetable Swaps: Don’t have giardiniera? Use only pepperoncini, or even a mix of chopped marinated artichoke hearts and roasted red peppers.
- For a lighter version: Use turkey-based deli meats, low-fat provolone, and reduce the butter in the topping by half, supplementing with a light brush of olive oil.
To make these sliders gluten-free: Use a high-quality certified gluten-free dinner roll or slider bun.
For a vegetarian “Italian” sub: Omit the meats. Use a layer of marinara sauce, sliced fresh mozzarella, roasted red peppers, sautéed mushrooms, and sliced black olives. The technique remains the same.
The Flavor Foundation: Mastering the Dressing & Assembly
The success of these sliders hinges on two simple but crucial preparatory steps: the dressing and the layering order.
Step 1: The Dynamic Dressing
In a jar or bowl, vigorously whisk together all the Italian dressing ingredients: olive oil, red wine vinegar, garlic, oregano, basil, red pepper flakes, onion powder, salt, and pepper. This isn’t just a glaze; it’s a marinade and sauce. Let it sit for at least 15 minutes to allow the dried herbs to rehydrate and the flavors to marry. This dressing will be used in three ways: to marinate the onions, to drizzle on the meat, and as a final flavor boost.
Step 2: The Strategic “Lasagna” Layering Method
Preheat your oven to 350°F (175°C). Without separating the buns, slice the entire package horizontally to create a top and bottom “slab.” Place the bottom slab in an ungreased 9×13-inch baking dish.
Here is the layering sequence for optimal moisture and flavor distribution:
- Bottom Bun Base: Place the bottom bun slab in the dish.
- First Dressing Layer: Using a pastry brush or spoon, apply a thin layer of the prepared Italian dressing directly onto the buns.
- Meat Layer: Layer half of the salami and ham (if using) evenly. Drizzle lightly with more dressing.
- Cheese Layer: Add half of the provolone slices.
- Vegetable Layer: Scatter all of the chopped giardiniera and the red onion slices (which you can optionally quick-pickle in a tablespoon of the dressing for 10 minutes).
- Second Meat & Cheese Layer: Add the remaining meats, another drizzle of dressing, and top with the remaining provolone slices.
- The Cap: Place the top bun slab over everything.
This method ensures every bite has a balance of meat, cheese, and vegetable, and prevents the bottom bun from becoming soggy from direct contact with the wettest ingredients.
Step-by-Step Baking for Perfect Texture
The baking process is where these ingredients unite into something greater. Follow these steps for sliders that are heated through, perfectly melted, and golden brown.
Step 3: Applying the Flavor Seal (Butter Topping)
In a small saucepan, melt the stick of butter with the minced garlic over low heat. Cook for 1-2 minutes until fragrant, then stir in the Parmesan and Italian seasoning. Remove from heat.
Using a pastry brush, generously coat the top buns with this garlic-herb butter. Reserve about two tablespoons for later. This buttery layer is your flavor seal and browning agent.
Cover the entire baking dish tightly with aluminum foil.
Step 4: The Two-Stage Bake
- Stage 1 (Steaming): Bake, covered, for 20 minutes. This crucial stage steams the sliders, gently warming the meats through and ensuring the cheese melts completely into a gooey, unified layer without the tops burning.
- Stage 2 (Browning): Remove the foil. Bake for an additional 5-10 minutes, until the top buns are a beautiful golden brown and the cheese is bubbly at the edges.
- The Final Touch: Remove from the oven. Immediately brush the tops with the remaining garlic-herb butter and sprinkle with fresh chopped parsley. For an extra flavor hit, you can even drizzle a tiny bit of the remaining Italian dressing over the top.
The Art of Serving: Cutting and Presentation
Let the pan rest for 5-7 minutes after baking. This allows the cheese to set slightly, making the sliders much easier to cut cleanly. Use a very sharp serrated knife to slice along the pre-scored lines of the rolls, creating 12 individual sliders.
Serve them warm, directly from the pan. The ideal texture is a crisp-yet-soft buttery top, a tender, juice-infused bottom, and a rich, savory, slightly tangy filling that holds together beautifully. Offer extra pepperoncini or giardiniera on the side for those who love an extra punch.
Pro Tips for Flawless Italian Sub Sliders
- Pat Your Giardiniera Dry: After draining the pickled vegetables, give them a gentle press with a paper towel. This removes excess brine that could make the buns overly soggy.
- Don’t Skimp on the Butter Glaze: This is what gives the sliders their professional, bakery-quality finish and incredible aroma.
- Slice Meat Thinly: If buying from a deli counter, ask for your meats sliced “for sandwiches” or “thin.” Thick slices won’t layer or heat as elegantly.
- The Resting Period is Key: Rushing to cut steams your sliders and can lead to a messy, squished presentation. A brief rest ensures clean cuts.
- Make-Ahead Mastery: You can assemble the entire dish (through adding the top bun) up to 24 hours in advance. Cover and refrigerate. Add the butter glaze and bake as directed, adding 3-5 extra minutes to the covered bake time.
Creative Flavor Variations to Explore
The basic framework is your playground. Here are some delicious twists:
- The Meatball Parmesan Slider: Replace the deli meats with 1-1.5 pounds of small, cooked Italian meatballs and a cup of marinara sauce. Use mozzarella cheese.
- Chicken Pesto Slider: Use shredded rotisserie chicken, a layer of basil pesto, sun-dried tomatoes, and mozzarella or fontina cheese.
- The “Everything” Italian Slider: Add a layer of roasted red peppers and a sprinkle of black olives to the standard filling.
- Breakfast Italian Slider: Use cooked Italian sausage links (sliced), scrambled eggs with oregano, and provolone cheese.
Storing, Reheating, and Freezing Instructions
Storing Leftovers: Place leftover sliders in an airtight container in the refrigerator for up to 3 days.
Reheating for Best Quality: To recapture the perfect texture, reheat in a conventional oven or toaster oven. Place sliders on a baking sheet, cover loosely with foil, and warm at 325°F (160°C) for 8-12 minutes. The microwave will make the buns rubbery and soggy.
Freezing: These freeze very well. Bake and cool completely. Wrap the entire pan tightly in plastic wrap, then foil. Freeze for up to 2 months. Thaw overnight in the refrigerator and reheat using the oven method, adding a few extra minutes.
Creating these Hot Italian Sub Sliders is about more than feeding a crowd; it’s about creating a moment of shared, uncomplicated joy around fantastic food. They embody the spirit of a great Italian deli with the convenience and communal warmth of home baking. Each component plays its part, and through a simple baking process, they unite into something memorably delicious.
I hope this recipe becomes a star in your entertaining repertoire! Did you add your own twist? How did your guests react? I’d love to hear about your experience in the comments below. Your stories and questions help shape the recipes I create. If this guide helped you deliver a winning dish, please consider sharing it with a fellow food lover.
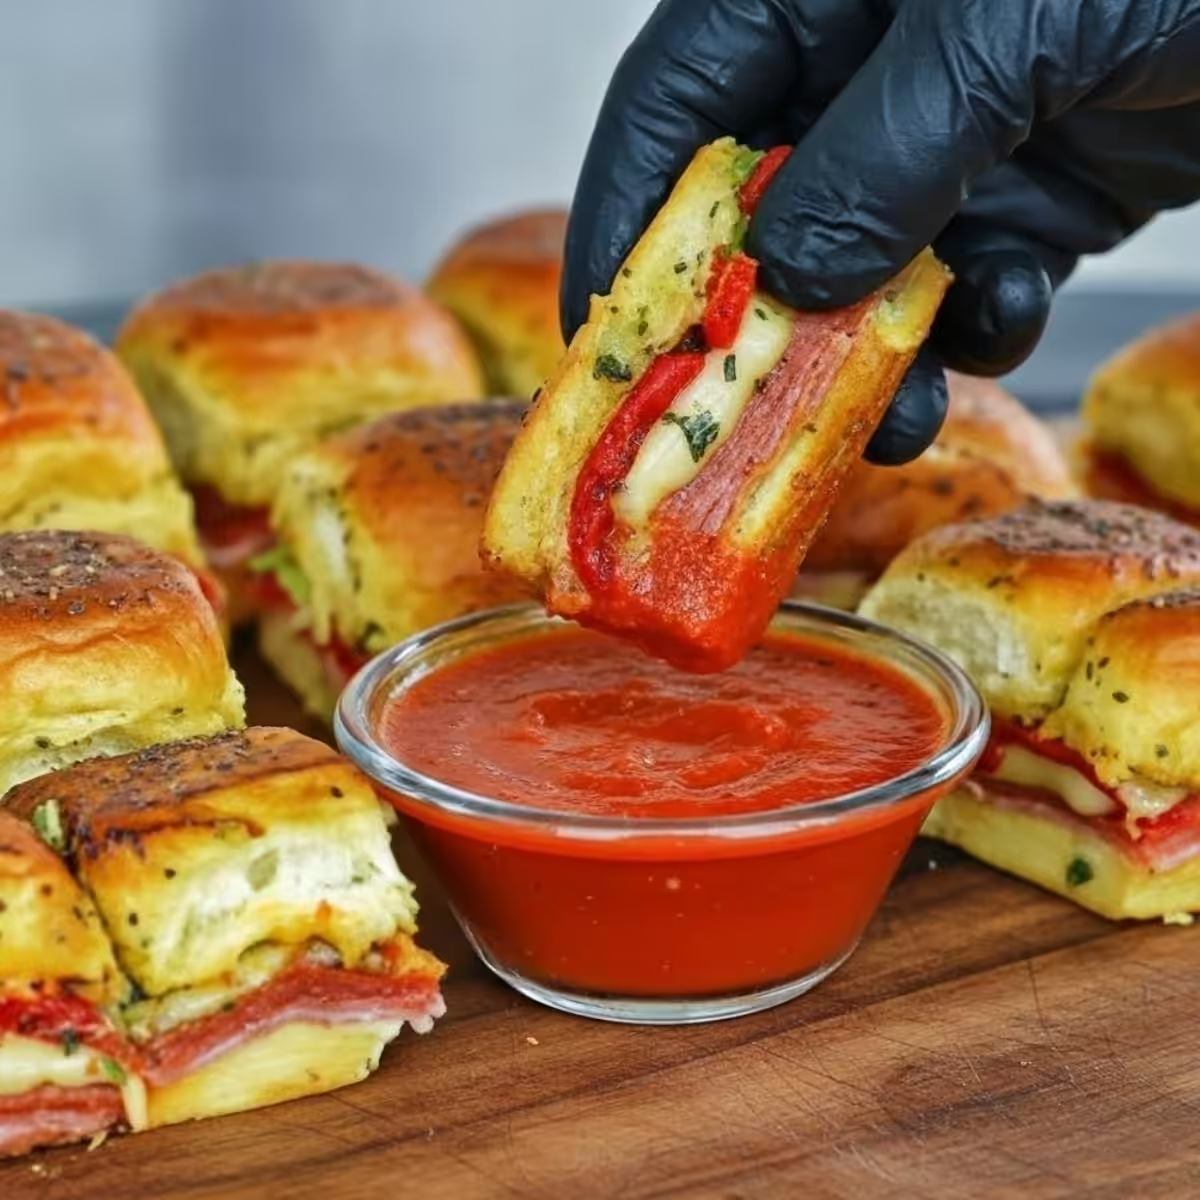

Hot Italian Sub Sliders
Ingredients
Equipment
Method
- Preheat your oven to 350°F (175°C). Grease a 9×13 inch baking dish.
- Using a large serrated knife, slice the entire block of slider buns in half horizontally, keeping the individual rolls connected. Place the bottom half in the baking dish.
- Layer the meats evenly across the bottom buns: start with the ham, then salami, and finally the pepperoni.
- Add a layer of banana peppers (if using) and top with the slices of provolone cheese. Place the top half of the buns back on.
- In a small bowl, whisk together the melted butter, Italian seasoning, garlic powder, and parmesan cheese. Brush this mixture generously over the tops of the buns.
- Cover the dish with aluminum foil. Bake for 10-15 minutes, then remove the foil and bake for an additional 5 minutes until the tops are golden and the cheese is fully melted.