
Imagine slicing into a loaf straight from your oven with a crackling, deep-golden crust that shatters at the first touch, revealing a tender, airy interior full of those coveted irregular holes and a rich, complex flavor that tastes like it came from a centuries-old bakery. This World’s Easiest No-Knead Crusty Artisan Bread Recipe delivers exactly that bakery-worthy crust and crumb with zero kneading, zero fancy tools, and just five minutes of active work.
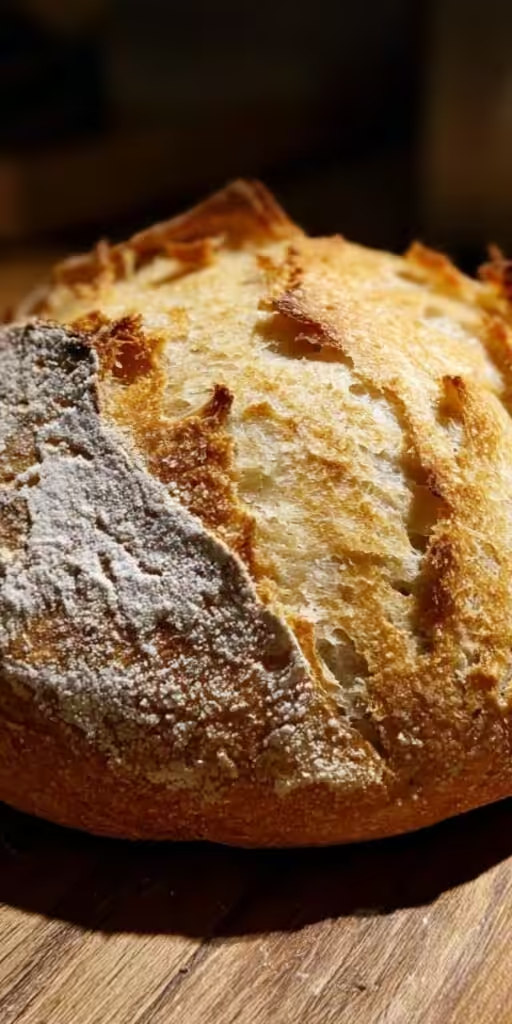
Perfect for beginners and seasoned bakers alike, this recipe turns four everyday pantry staples into a stunning crusty loaf you can proudly serve with soups, cheeses, or your favorite olive oil. The magic happens during the long, hands-off rise while you sleep or run errands. In this ultimate guide you’ll discover exactly why this method creates that signature shatteringly crisp crust, how to guarantee perfect texture and flavor every time, step-by-step instructions, pro tips for an even crustier result, mouthwatering variations, smart substitutions, storage secrets, and answers to every question home bakers ask.
If you’ve ever wanted professional-looking crusty artisan bread without the stress, this is the recipe that will change your baking forever. Let’s get started.
Why This No-Knead Method Creates the Crusti-est Artisan Bread
The secret to an ultra-crusty exterior lies in three simple elements: high hydration, extended fermentation, and steam. A wet dough (about 100% hydration) allows the gluten to relax fully during the long rise, forming large air pockets that become chewy crumb. Meanwhile, natural enzymes slowly break down starches into sugars, giving deep flavor and beautiful browning.
The real crust magic happens in the oven. When the dough meets a screaming-hot Dutch oven, the trapped steam keeps the surface soft just long enough for maximum expansion (oven spring). Then, as the steam escapes, the crust sets into a thick, golden, crackly shell. This is the same technique used in professional bakeries, except here you let time do all the work instead of kneading. The tiny amount of yeast ensures a slow, steady rise that develops flavor without any harsh yeast taste.
Essential Non-Alcoholic Ingredients for Maximum Crust and Flavor
Only four simple, non-alcoholic ingredients are needed — each chosen to maximize crust crispness and interior chew:
- 3 cups (360 g) all-purpose flour — Provides structure while keeping the crumb tender. For an even crustier, chewier loaf, swap in bread flour or use half and half.
- 1 ½ teaspoons kosher salt — Strengthens gluten for better rise and enhances browning on the crust.
- ¼ teaspoon instant yeast — Just enough to create beautiful air pockets over many hours without over-fermenting.
- 1 ½ cups (360 ml) lukewarm water (around 100°F / 38°C) — The high water content is what creates the open crumb and crisp crust when combined with steam.
That’s literally it. Naturally vegan, dairy-free, and endlessly customizable.
Minimal Equipment for Professional Crusty Results
You probably already own everything:
- Large mixing bowl
- Wooden spoon or spatula
- 5–7 quart Dutch oven with lid (this is the crust hero — it traps steam perfectly)
- Parchment paper
- Sharp knife or lame for scoring
- Wire cooling rack
No bread machine or mixer required. If you don’t own a Dutch oven, a heavy cast-iron pot with a tight lid works just as well.
Step-by-Step Guide to the World’s Easiest No-Knead Crusty Artisan Bread
Step 1: Mix the shaggy dough (5 minutes)
In a large bowl, whisk flour, salt, and instant yeast. Pour in the lukewarm water and stir until no dry flour remains — the dough will look sticky and messy. That’s exactly right. Do not knead.
Step 2: Overnight rise for flavor and crust (12–18 hours)
Cover the bowl tightly and leave it on the counter. After 12 hours you’ll see bubbles everywhere. The longer the rise (up to 18 hours), the deeper the flavor and the crispier the crust becomes.
Step 3: Preheat for maximum oven spring
Thirty minutes before baking, place your Dutch oven (with lid) inside the oven and preheat to 450°F (230°C). While it heats, generously flour your counter and hands. Gently turn the dough out, fold it over itself 3–4 times to form a loose ball, and place it seam-side down on parchment. Rest 15–20 minutes.
Step 4: Bake with steam for the ultimate crust
Carefully remove the blazing-hot Dutch oven. Lower the dough (still on parchment) inside. Score the top with a sharp slash or X — this lets the bread expand dramatically for that signature artisanal look and even crispier crust. Cover and bake 30 minutes. Remove the lid and bake 15–20 minutes more until the crust is deep mahogany and sounds hollow when tapped. Internal temperature should reach 205–210°F.
Step 5: Cool for perfect texture
Lift the loaf out and cool on a wire rack at least one hour. Cutting too soon softens the crust — patience gives you that satisfying crackle with every slice.
Pro Tips for the Crusti-est Loaf You’ve Ever Baked
- Use the hottest possible oven and Dutch oven — the steam blast is what separates good crust from bakery-level shatter.
- For an extra-crispy bottom, place the Dutch oven on a preheated baking stone.
- Add a few ice cubes to the pot when you add the dough for an extra burst of steam.
- Bread flour + full 18-hour rise = the thickest, crunchiest crust possible.
- Score confidently — a deep cut encourages the best oven spring and that dramatic cracked crust look.
Troubleshooting for Perfect Crust Every Time
Crust not crisp enough? Dutch oven wasn’t hot enough or you skipped the uncovered bake stage.
Loaf too flat? Increase preheat time or check yeast freshness.
Dense crumb? Add 1–2 extra tablespoons water next time or extend the rise.
Pale crust? Bake uncovered longer or raise temperature 25°F for the final stage.
Dough too sticky to handle? That’s normal for high-hydration crusty bread — just use plenty of flour on your hands.
Exciting Variations to Keep Your Crusty Bread Routine Fresh
Once you master the master recipe, try these flavorful twists:
Seeded Crusty Loaf
Before the final bake, brush the top with water and press on sesame, poppy, and flax seeds. The seeds toast into the crust for extra crunch and nutty flavor.
Herb-Infused Crusty Bread
Add 2 teaspoons dried rosemary or thyme to the dry ingredients. The long fermentation carries the herbs throughout for an aromatic crust.
Whole Wheat Crusty Version
Replace 1 cup all-purpose with whole wheat flour. You’ll get a heartier crust with deeper flavor while keeping the signature open crumb.
Olive Crusty Artisan Bread
Fold in ½ cup chopped olives during shaping. Their briny flavor concentrates in the crust for a Mediterranean twist.
Garlic Crusty Bread
Mix 1 teaspoon garlic powder into the dry ingredients. The crust turns extra golden and fragrant.
Gluten-Free Crusty Adaptation
Use a high-quality gluten-free flour blend plus 1 teaspoon xanthan gum. Increase water to 1¾ cups. The Dutch oven steam still delivers a surprisingly crisp crust.
All variations stay 100% non-alcoholic and naturally vegan.
Smart Substitutions for Any Pantry
No instant yeast? Use active dry — increase to ½ teaspoon and let it sit in the warm water 5 minutes first.
All-purpose out? Bread flour makes an even crustier loaf.
No kosher salt? Use 1 teaspoon table salt.
No Dutch oven? Bake on a preheated pizza stone with an upside-down baking sheet as a lid — you’ll still get excellent crust.
How to Store and Freeze Your Crusty Masterpiece
Cool completely, then wrap in parchment and foil. It stays crusty at room temperature for 3–4 days. Slice and freeze up to 3 months — toast slices straight from frozen and the crust crisps perfectly again.
Pairing Ideas and Bread Cluster Inspiration
This World’s Easiest No-Knead Crusty Artisan Bread Recipe is incredible with soups, cheeses, or dipped in olive oil. Pair it with our Cheesy Garlic Bread Recipe for a garlic-lover’s feast or use thick slices as the base for open-faced sandwiches. For more hands-off baking magic, explore our Stunning Focaccia Bread Art Recipe — same easy overnight method, different beautiful presentation.
Frequently Asked Questions About Crusty No-Knead Bread
Can I make this same-day?
Yes — start early morning for fresh bread by dinner, though overnight gives the best crust and flavor.
Why is the dough so wet?
High hydration is the secret to both the open crumb and the crackly crust.
Do I have to score the bread?
Scoring controls expansion for a prettier, crustier result, but even without it you’ll get great crust.
Is this kid-friendly?
Absolutely — children love helping mix the dough and hearing the crust crack when you tap it.
Can I use this dough for rolls?
Yes — divide after the first rise, shape, and bake on a sheet pan for individual crusty rolls.
Your Bakery Crust Awaits
You now possess everything needed to bake the World’s Easiest No-Knead Crusty Artisan Bread Recipe that will become your new weekly staple. That first tap on the golden crust and the rush of warm, fragrant steam will remind you why homemade bread is pure magic.
Bake your first loaf today and tell me all about it in the comments! Share your favorite variation, rate the recipe, and post a photo so we can cheer you on. If you loved this crusty wonder, dive into our full collection of easy homemade breads for even more comforting ideas.
Your perfect crusty artisan loaf is just one overnight rise away — happy baking!
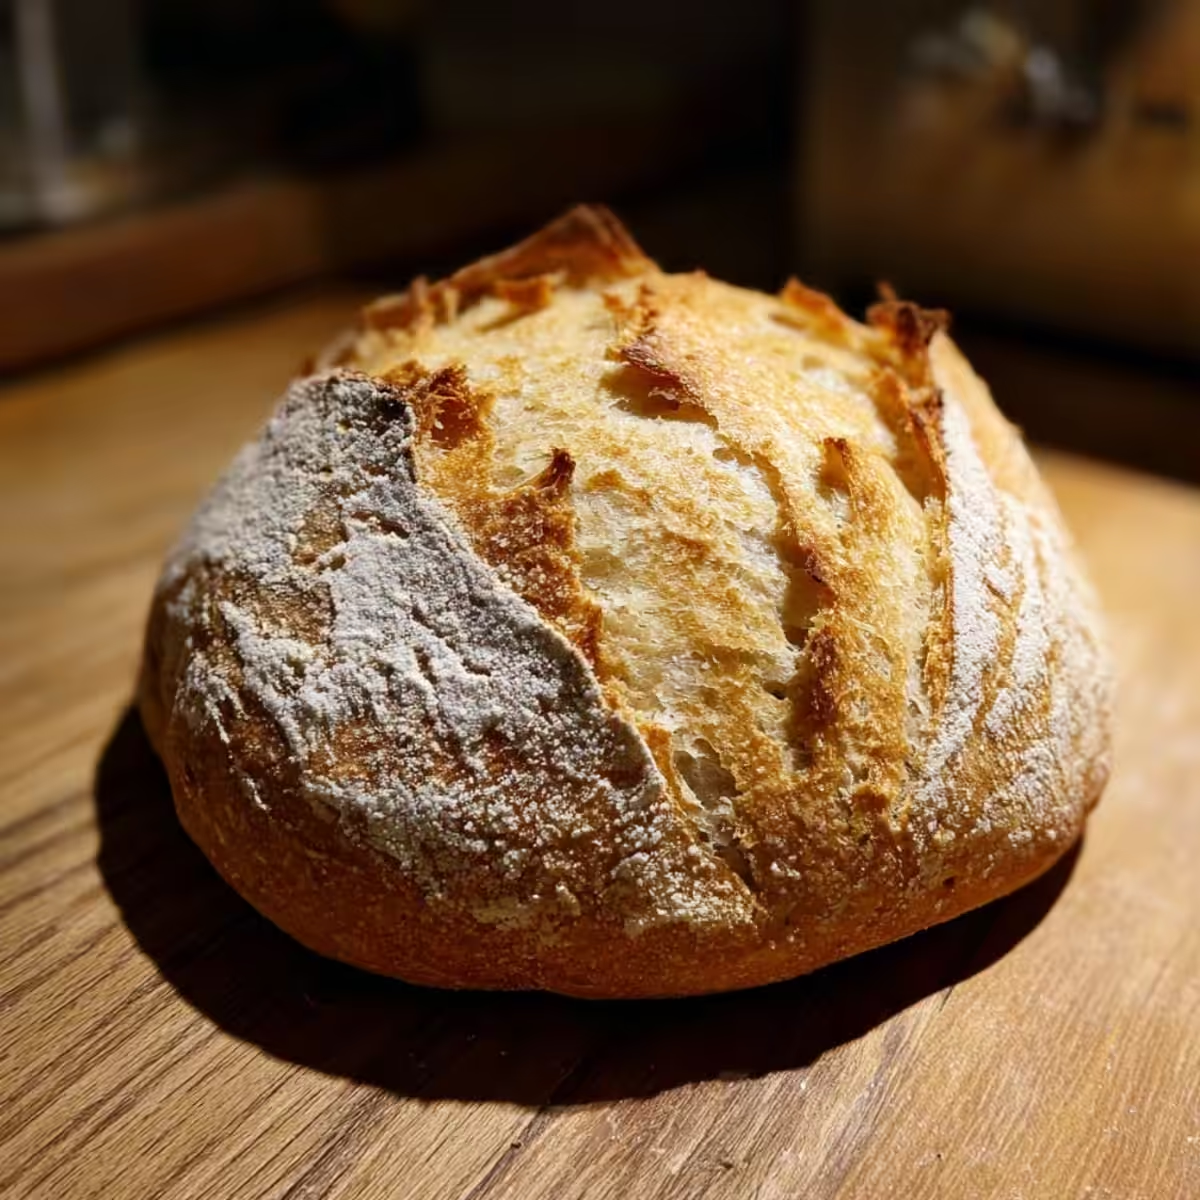

World’s Easiest No-Knead Crusty Artisan Bread Recipe
Ingredients
Equipment
Method
- In a large bowl, whisk together the flour, salt, and instant yeast. Add the lukewarm water and stir until a sticky, shaggy dough forms. Do not knead.
- Cover the bowl tightly and let the dough rise at room temperature for 12–18 hours until bubbly and doubled in size.
- Thirty minutes before baking, preheat oven to 450°F (230°C) with Dutch oven inside. Turn dough onto floured surface, fold gently into a ball, and rest 15–20 minutes on parchment.
- Transfer dough with parchment into hot Dutch oven. Score top, cover, and bake 30 minutes. Uncover and bake 15–20 minutes more until deep golden and internal temperature reaches 205–210°F.
- Cool on a wire rack for at least 1 hour before slicing.